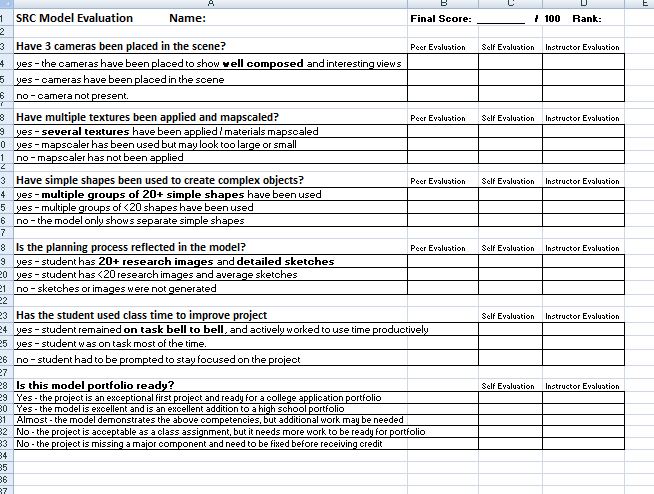
http://www.usciences.edu/teaching/tips/spal.shtml#promoting

http://www.usciences.edu/teaching/tips/spal.shtml#promoting

from
http://www.thejediassembly.com/tutorials.php?id=y45
Here’s a Basic Parts List to make blades the way I do:
Note: I don’t really like RadioShack all that much. I have a much better electronics store locally that I use that has a better selection and cheaper prices, but you can’t order from them online, so I know you should be able to find what you need at RadioShack)
That’s just for the blade.
To power it, you need to put inside your hilt:
Then when you get all that stuff, you get to figure out how to put it all together. 😉
Though I can help there, too, of course. 😛
When I started making my own blades, I knew I’d be making several, so I didn’t mind buying a whole box of set screws, or polycarbonate screws. Or buying special tools, like an automatic wire stripper, and a drill and tap set to thread my screw holes.
Disclaimer: This is how I make my blades, if you do not follow these instructions, I cannot guarantee how well your blades will come out, nor how sturdy they will for dueling purposes. I have improved my construction methods as they have been “battle tested”.
Preparing the tubes:
Cut the polycarbonate tubing to 40″ (the “industry standard”) or whatever you’ve decided on for the length of your blade. You can use a Dremel, or a pipe cutter. If you use a Dremel, put a piece of tape around the tube, this will make a cutting line and protect your tube from scratches if you slip when you’re cutting. Lightly sand the inside and outside edges of both ends with some fine sand paper.
Next, cut a 2″ piece of 5/8″ tubing for the bottom “bushing”. Using sand paper, bevel the inside and outside of edge of the end that will be inserted into the outer polycarbonate tube. Push it halfway up the bottom end of the outer tube, apply some super glue and insert it flush with the inside of the outer tube. This will hold your male connector and bottom end of the diffuser tubing. You may need to use a hammer to seat the bushing all the way in, if it’s a tight fit. I would use a rubber, or plastic mallet, so that you don’t mushroom the end of the bushing too much. I use a plastic one that I have for my leatherworking.
Cut a 39″ piece of diffuser tubing and bevel the inner and outer edges of one end. Straighten it as best you can, as it will have a curve to it, since it comes off of a roll (as it sits in the tube, it will get straighter, over time).
Take your male connector and unscrew & remove the housing, if it has a clear or black insulative sleeve inside it, don’t lose it. Determine where to place the hole in the housing for the set screw, I usually put mine about an inch up from the “shoulder” at the plug end of the connector, and mark it. I don’t have a vice, so I use a pair of vice grip pliers to hold the marked housing on my work space. Use a center punch, or just a nail to make a dent that the drill bit will rest in, so it won’t slip off the rounded surface. Start with a 1/8″ pilot hole, then choose a size of bit just larger than the set screw. Clean out the metal shavings from the inside of the housing and put it back on the connector, temporarily.
Slide the male connector into the bottom end of the tube inside the bushing. Leave just little bit of the shoulder of the connector sticking out of the bottom of the tube, and mark on the outer tube where you see the hole in the housing. Remove connector and drill the proper sized hole and tap for set screw. You need to use a set screw for this, because the screw needs to seat flush with the outside of the blade, because this part of it will be inside your blade sleeve inside your saber hilt. I don’t know if glue will be strong enough to hold in the connector, since you will be taking the blade in and out. I’ve also had reasons to take apart a few blades, either to fix a broken connection, or retrofit a blade with a screw at the top end, so it’s easy to take the connector out when it’s held in by a screw.
Next take the beveled end of the diffuser tubing and insert it into the “top” of the polycarbonate tubing, and down inside the top of the bottom bushing. Insert the male connector into the bottom of the tube line up the screw holes in the tube and housing. Push diffuser tubing in till it touches the top of the connector. Mark the end of the diffuser tubing sticking out at 1/4″ from the end, remove from outer tube, and cut at mark. The bevel the outer edge that you just cut. Put aside for now.
Cut a 1/2 piece of 5/8″ tubing for the top bushing and bevel inner and outer edge of one end, this will be the bottom of the bushing that will insert into the outer tube.
Preparing the EL wire:
Now you need to strip the EL wire. It may take a few tries to get it stripped without breaking one of the fine wires inside, if you’re using a regular wire stripper. Since I knew I’d be making several blades (I had no idea I’d end up making at least 50 of them!), I thought it worth the $15 for an automatic wire stripper to save my sanity, after trying to use just a regular stripper on my first piece of EL wire.
Now use the soldering instructions here: EL wire soldering instructions
Once you have done that, you should test your wire, to make sure you didn’t break or short any wires together. You want to do this before you solder the connector on. If you have your inverter that is not installed in your hilt yet, you can do this, otherwise, I’m not sure how you can test it. I have an inverter dedicated just for this purpose, as it’s too large to fit into a hilt.
Next, solder the end of your stereo wire onto the terminals on the male connector. If your connector didn’t come with a plastic insulative sleeve to put over the terminals, you will need to wrap a layer of electrical tape over them, otherwise, if your set screw that will hold the connector in is a little long, it may contact one of the terminals and short out the wire. (This will not damage the wire if saber is turned off right away, if that’s when you discover the problem, but the blade won’t light up if this happens.) Test the wire again to make sure it lights up.
Caution, when using an inverter, you’ll need to have bare wires on it to test the EL wire, at first. The inverter puts out high frequency AC voltage. It won’t harm you if you shock yourself, but it’s gonna hurt. Even for someone like me who is used to getting shocked, due to past jobs I’ve had.
After insulating the terminals, screw the housing back onto the connector.
Final Assembly:
Now get your diffuser tubing. You will need to bend the EL wire once and slide it into the diffuser to check for length. You want it about 3/8” from the end, when the diffuser tube is against the connector housing, because you will be cutting off about 1/4” off the excess at the end of the diffuser after final assembly. You may have to try this several times to get the proper length for your first strand, it’s hard to judge with the curve of the tube. Once you have the right length, make your second, and bottom, bend in the wire above the connector. If you are using 10’ of wire, you will be making one more bend, but don’t do this till the wire is inserted, because having 2 bends at the top will make it difficult to insert the wire into the diffuser tubing, so leave the end long and insert it first. It will, obviously, stick out of the end of the diffuser.
Test the EL wire one more time, to make sure you didn’t break a connection while you were making the bends and inserting it into the diffuser. Insert the wire all the way into the diffuser tubing and carefully slide this “assembly” into the top of the outer tube, being careful when the connector reaches the bottom bushing, and gently ease it in. Push the diffuser tube into the bottom bushing. Secure the connector to the tube with set screw.
Push the diffuser down till it goes into the bottom bushing and seats against the top of the connector housing. If you are using 10’ of wire, cut off the end at about 1” from the end of the tube, bend it and push it down into the diffuser, making one last bend in the wire.
Now take your top bushing and slide it between the outer tube and the diffuser tube, just get it “started”. Put a little super glue on the inside and outside of the bushing and insert it till it’s in about 1/4-3/8”. Depending on what you use for this bushing, it could be a very tight fit, so you may have to drive it in with a mallet. Don’t hit it so hard that you mushroom too much of the end of the bushing, but insert it quickly before the super glue dries. (at this point, for my own blades, I now install a polycarbonate screw through all 3 pieces of tubing, to ensure that the bushing and diffuser tube cannot come out during dueling. I remove the set screw holding the connector in the bottom and gently pull the connector and wire out about 1/2”. Then I drill and tap the tubing at the top, reinsert the wire and start the polycarbonate screw, looping the bend in the wire over the screw. Reinstall the set screw holding the connector, and cut off the head of the polycarbonate screw and grind it flush with the outer tube).
Carefully cut off the excess bushing and diffuser tube flush with the end of the outer tube. If your wire bend is right at the end of the tube, you don’t want to cut it.
The last thing to do is seal the end of the blade. I use hot glue, but you can use silicone, too. For the hot glue, squeeze some inside the diffuser to help hold the wire ends in place, the keep adding glue till there’s excess coming out the top. Wait few seconds for the glue to start to cool, then you can wet your finger and smooth and round of the end “plug”.
Once the glue is cool and set, or the silicone is left to cure overnight, your blade is now finished and ready to insert into your lightsaber hilt!
You can have fun feeling like a true Jedi, now that you have a glowing blade for your lightsaber! (That you have hopefully, but not necessarily, built yourself 😉 )

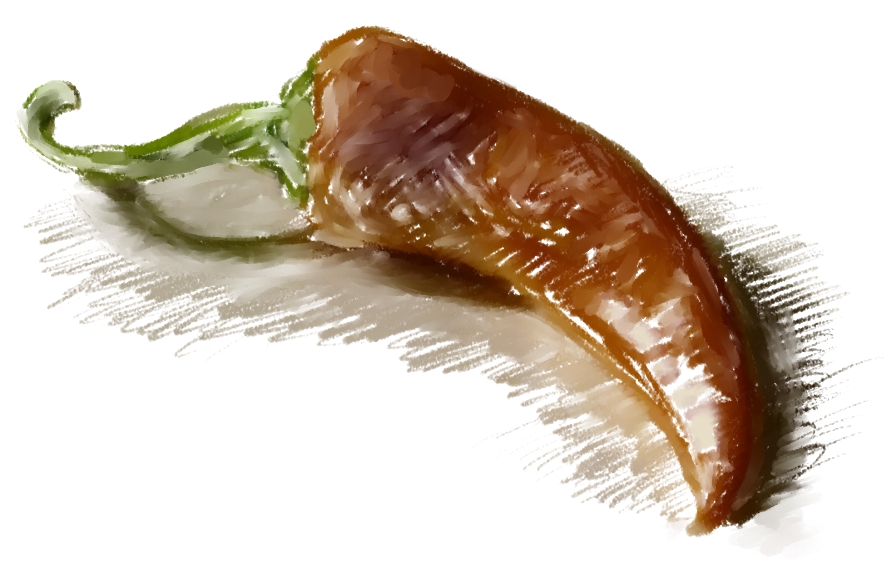
I’m working on my final project for a digital painting course.


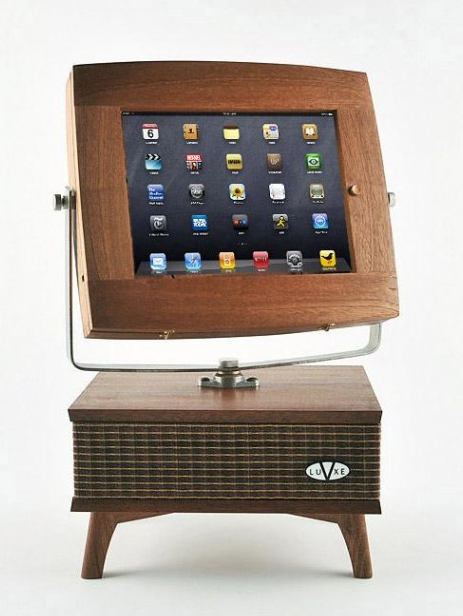
From http://paulblow.tripod.com/pdb-resources.html
When listening to music, nothing gets me going like a slammin’ drum sound. Many engineers and producers (myself included) actually believe that the snare drum sound is more important than even the lead vocal on a record! Let’s face it, nothing ruins the sound of a great band like weak sounding drums. If you play rock, metal, punk, etc. – you want a slammin’ snare that hits you right in the gut with each hit- you want a kick drum that packs a whallop! Now, how can you record slammin’ drum tracks in your home studio? Here’s how it’s done…
the Snare – The snare is the most important part of the drumset. If I can only hear one piece, it’s got to be the snare. The pros all agree that the best way to capture a great snare sound is by close-miking it with a dynamic, cardiod-pattern mic. The legendary SM-57 is an excellent mic for the snare, it is the choice of many professional engineers, and it’s what I use myself.
The classic approach for miking the snare is to place the mic 1-2 inches over the snare rim opposite the drummer and one inch above the top drum head. The mic should be at about a 35 degree angle downward. I usually try to also angle the mic inward (away from the hi-hats) to avoid leakage from the hi-hats. If you are recording to magnetic tape, hit the tape hard and you’ll get some nice analog compression from the tape saturation. If you’re recording to a digital medium, you should compress the snare to avoid any digital clipping.
Some engineers also mic the bottom snare head for some added snap, but I’ve never been a fan of this technique. Everytime I’ve recorded the bottom snare, I usually haven’t used it in the mix.
the Kick drum – For the kick drum, you should use a dynamic mic – the bigger the diaphram, the better. I’ve used RE-20’s (the famous radio mic) with great success, but when I’m recording drums at home I’ve used an Audio-technics dynamic mic (actually a vocal/all purpose mic), and also an SM-57, which delivers a nice punchy kick sound.
The way I usually mic a kick drum is to stick the mic inside the kick drum (I always remove the front head) about 3-4 inches in front of the beater. That’s a good place to start – you can move the mic around and find the best sounding spot. I usually stick a pillow or blankets against the rear drum head to minimize rings and to improve the thud factor. You’ll get more thud the closer the mic is to the beater – you’ll get more overtones farther away.
Toms – If you’ve got enough mics, it’s best to mic each tom separately and run the tom tracks to a submix (panning them accordingly). Again, dynamic mics work the best, and SM-57’s once again are a top choice. Sennheiser 421’s also are a great tom mic, but they are expensive.
The best approach to miking toms is to place the mic 4-6 inches above the drum head at about a 45-degree angle over the head. If you pick up a lot of overtones, a little duct tape in the right spots will kill the overtones, or if you have a noise gate you can gate out the overtones. I always move the mics around a little at a time until I find the right spot/angle that picks up the tom sound the best.
Overheads – The drum overhead mics are really supposed to capture the overall sound of the drums, not just the cymbals. Condenser mics are the first choice for overheads, and one popular miking technique is with a spaced pair of mics (on boom stands) mounted 3 feet above the drums -the right mic pointed at the right cymbals, the left mic pointed at the left cymbals. Another technique is called X-Y miking, and the two mics are placed above the drums with their capsules one inch from each other – with the right mic angled down toward the left side of the set, and the left mic pointed down to the right of the set. The mics should actually form a 90 degree angle together (I wish I could draw a picture here.)
Hi-hats – If you’ve got enough mics and tracks, you can always mic the high-hat. I’ve always used a small condenser mic placed about a foot above the high-hats, pointed straight down at the center of the top hat. Of course, when recording drums you will have plenty of leakage, and miking the hats are not really necessary.
Recording drums with 4-mics – I’ve often recorded drum tracks at home using just four mics, with very nice results. I always mic the kick and the snare, and I use two overhead mics to capture the toms and cymbals (as well as the overall drum sound.) The trick is to set the two overheads in the right spots so that the cymbals and toms will be recorded with a decent mix. I prefer my cymbals to be in the background in my mixes, so I try to make sure that the overheads pick up the toms loud and clear with the cymbals behind them (crisp, not muffled).
Recording drums with a stereo pair – If you’ve only got a couple mics, or very few tracks to play with, try this: Place a pair of SM-57’s 10 feet in front of the drumset, 3 feet high, 3-4 feet from each other pointed straight at the drum set. You can actually get a pretty good sounding recording with this method, especially if you’ve got a nice live room to record in. Adding some compression really gives it some balls, too.
That’s all I have for now… so rock out! One of my best sources for audio recording has always been the book Sound Advice -the Musicians Guide to the Recording Studio by Wayne Wadhams, which was one of my text books in my Audio Engineering classes. This book is written so even musicians can understand, and has a wealth of tips on recording (I mentioned a couple of them here)- in fact it’s the best book on the subject I’ve found! I highly recommend it.
Nady SCM 900 condensor mic
Now that you’ve got a good assortment of dynamic mics (the SM-57 and SM-58), all you really need for your home studio is a nice large diaphragm condensor microphone, and you DON’T have to spend $1000 on a Neuman! The Nady SCM 900condensor microphone is one incredible deal, you can get one of these bad boys for only $59.99. Don’t let the low price fool you, these are high-quality sounding and not cheaply made at all. The SCM 900 is a cardioid pattern large diaphragm microphone made for recording studio vocals and acoustic instruments. The mic features a one-inch gold-sputtered diaphragm, has a frequency range of 30-20,000 Hz, and comes in a nice carrying case.
I bought mine a many years ago because I already had a slew of SM-57’s and SM-58’s in my mic arsenal but I wanted to add a condensor mic to my collection for recording acoustic guitar and vocals, and the Nady SCM fit right into my tightwad budget. That’s right — I actually ordered this mic because it looked cool and was the cheapest studio condensor mic in the catalog on sale! I do all my home recording digitally either on my ADAT or straight into my computer’s multi-track programs, and I must say, I was SUPER impressed the first time I used it to record some vocal tracks. The sound is so much fuller, crisper and cleaner–plus it gets a hotter signal–than the SM-58 I used to use for vocals. Not a big difference, either, a HUGE difference. And for recording voice overs, yeah… it has that “FM radio” sound. For recording acoustic guitar the results were the same: AWESOME sounding, full, crisp and clear, with very little eq’ing necessary at all. A huge improvement over the SM57 I used to use to record acoustic guitar. I’ve also used this mic for drum overheads, and the cymbals came through shimmering and clear, very nice sounding, again a big improvement over the SM-57s I had always used before. I haven’t tried this on a grand piano yet, but I imagine with two of these mics spread out the results would be beautiful. The SCM 900 is a very full-sounding mic with fantastic lows, shimmering highs, a lot of depth and clarity. I’ve also tried recording my Marshall half-stack with this mic, but it sounded very boxy, so I’m sticking with the SM-57 for electric instruments. But for acoustic instruments and vocals/voiceovers this mic really delivers the goods.
The SCM 900 is 48V phantom powered, so you will to have to have a soundboard with phantom power. This mic is also super-sensitive so you will definitely need a shock mount for it… without a shock mount this mic will pick up any little sound or vibration — if you tap your foot on the floor it will pick it up, if someone shuts a door in the next room it will pick it up. A pop filter for recording vocals is also highly recommended. With the pop filter and shock mount you’ll be set for high-quality studio recording.
There are many other large diaphragm condensor microphones on the market for under $100. I also own a Marshall V57M large diaphragm condensor mic which was more expensive than the Nady SCM, but the Marshall mic sounds boxy compared to Nady. I very highly recommend the Nady mic for anyone with a home recording studio who does vocals or acoustic instrument recording and is on a budget.


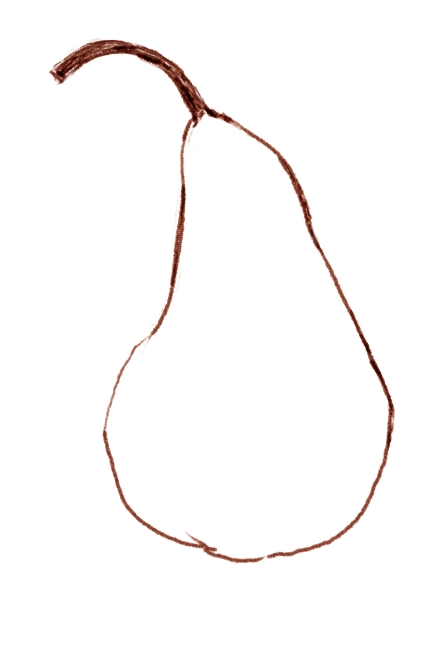
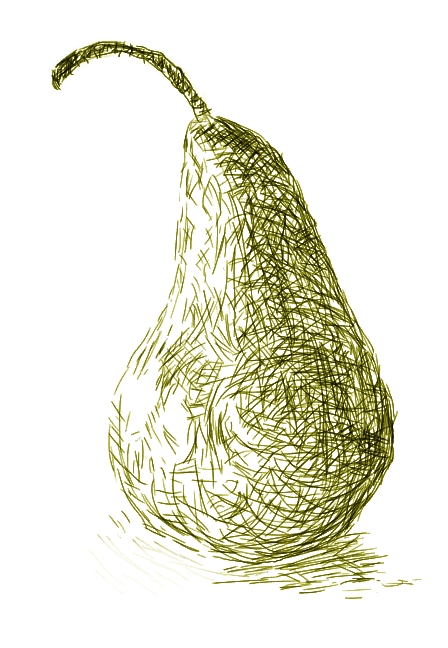
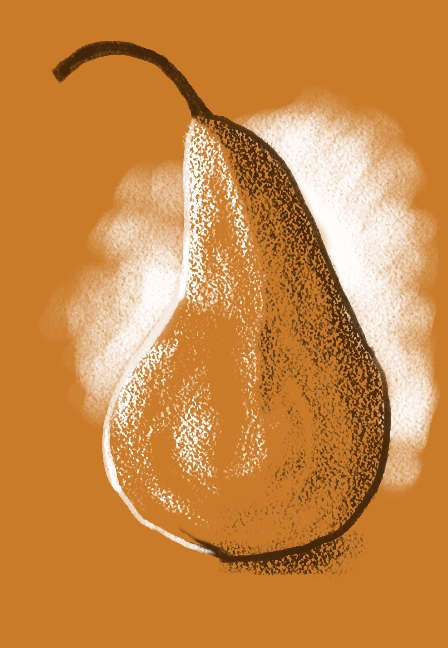
Farmhouse b&b after a day in yellow springs.


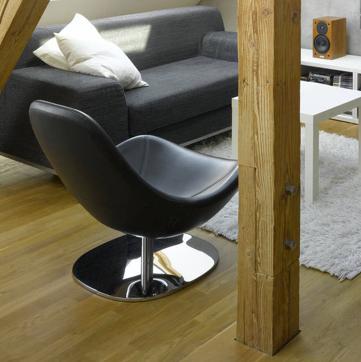
small-attic-loft-apartment-in-prague
http://www.idesignarch.com/small-attic-loft-apartment-in-prague/